Setting up your loyalty card
Reward rules, stamp icons, colour themes, logo, wallet previews, and pass location.
Everything about how your card looks and works lives in Dashboard → Card design (owner only). Changes apply to the brand-wide loyalty card across every branch, and the live preview shows both the Apple and Google versions.
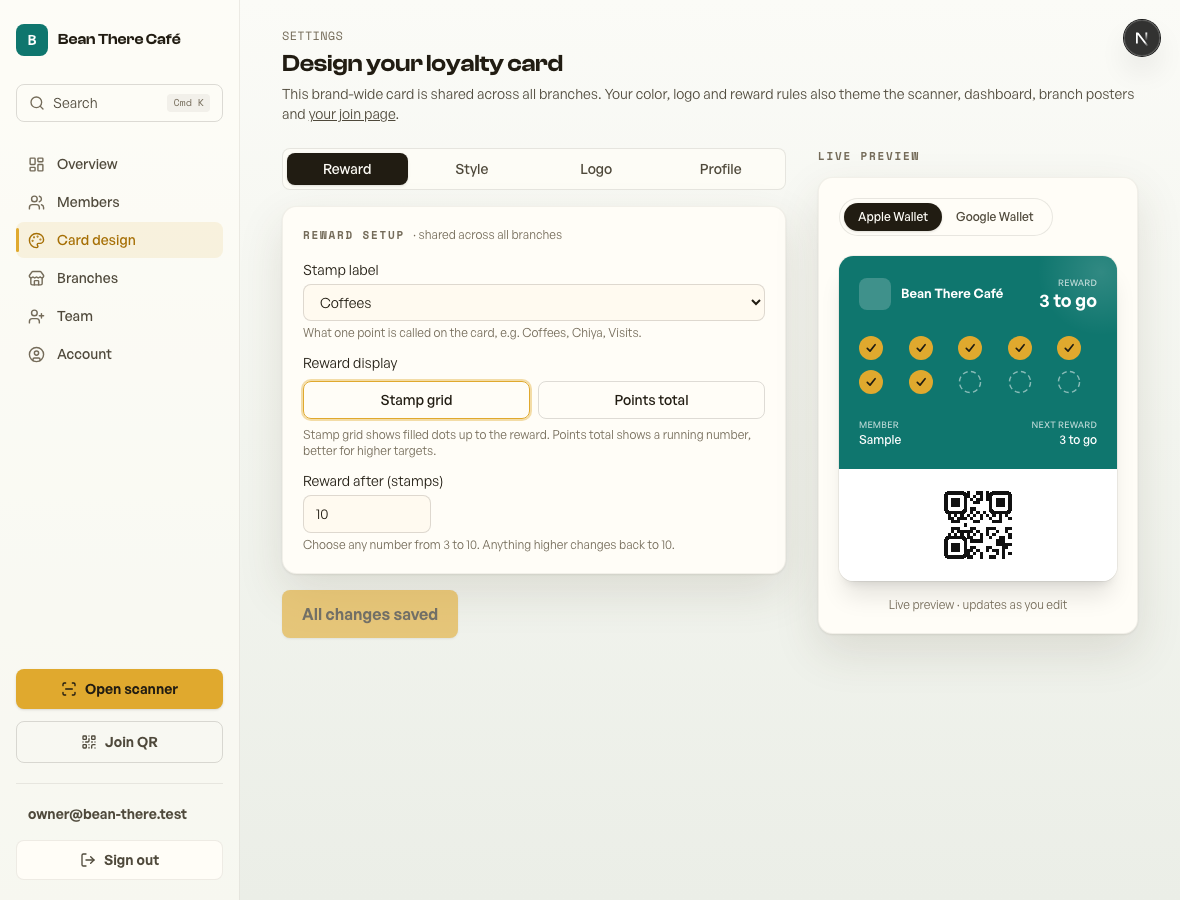
Reward setup
Choose the label customers see, such as "Coffees", "Chiya", "Visits" or "Points". Stamp cards can use any reward target from 3 to 10; higher numbers automatically change back to 10. Points mode is better for larger targets.
Style
Pick a stamp icon, including café-friendly options like coffee, chiya, cake, leaf, star and heart. Colour presets set the card background and stamp/logo accent together, and custom colours are still available when you need them.
Logo
Choose a built-in logo mark - including cup, chiya, beans, peaks, temple, stupa, leaf and cake - or upload your own image. Preset marks use your card background and stamp colour; uploads keep their original colours. Save the card changes to publish a selected preset logo.
Google Wallet requires a real PNG or JPEG logo. Uploads are normalised to PNG for you. A blank logo can still leave Google Wallet unavailable until a saved logo is present.
Pass location (optional)
A saved pass can surface on the customer's lock screen when they're near your café. Pro accounts set one café location in the Profile tab. Pro Max keeps Card design brand-wide, so each branch location is set from Dashboard → Branches.
For the full setup and privacy notes, see Pass location & nearby wallet reminders.
Thanks for using Retriever · We reply within a day